
From Song to Recording
Writing Music
When I decided it was time to put my music out there, I had to figure out every single step for myself. Looking back, there are some things I wish I had known. Hopefully, this “Music for Money Guide” will tell you exactly what you need to know to get your music out there and start generating an income with your passion!

Every songwriter has their own motivations for writing, but writing is what we do! For many of us, there’s going to be a point in which we either want to put our music out there ourselves or our own fanbase starts threatening us to put our stuff on Spotify. If it’s your first time trying to distribute your music, it might seem daunting and scary. Follow this guide and you’ll have no trouble at all.
Recording Music
In order to release music, you’ll have to record it. One way or another, you’ll need to make a starter investment. If you’re playing live for audiences, make sure you get paid. The next blog in this guide will help you to get folks to pay you! At the start it is difficult to achieve, requires a little luck and most importantly; confidence! But more on that later.
Let’s assume you’ve scraped together €200,- to put into your music. You are going to want to buy something that will last. This is not the moment when you pay a studio to record your song, because that money will be gone without a likely return of that investment through your one recorded song. Instead, you’ll look for a microphone to start recording yourself with. All you need is one mic and a mic-stand and you’re set to start. So how do you choose this microphone?
Choosing a Microphone
Accept that you’re not going to know which mic to buy right off the bat. You will have to spend some time choosing the right microphone, because there is so much to know before you buy and you can definitely buy the wrong one for your purposes. If you buy a microphone that excels in recording an instrument, while you wanted to record your voice simultaneously with your instrument, you have bought the wrong mic. So how do you find the right one?
Do your research: Spend some time online checking guides, informative websites, and videos about the subject. There are loads of people that walked this path before you and you can learn from them for free. Once you’ve narrowed it down to a few options, dig deeper and see if you can find some reviews for those specific mics that you’re now considering. Just be sure you know who it is that reviews the item. Is that reviewer affiliated with the brand they’re recommending? They might paint a prettier picture in order to sell it. Is the reviewer an established musician/audiophile? Cause if they’re not, they might not know enough about the subject to give a review in the first place. You’re going to want to find the most objective reviews/guides by the most professional individuals.
Ask other musicians: If you’re like me and you’re easily swamped by all the options online, your best bet is asking other musicians in your niche of music about their mics. Every artist who has music on Spotify will have been in your shoes and has already bought a microphone. If you like someone’s sound, you could see if you can get in touch to ask them about their microphone and reasons for buying that specific one. If most of them recommend the same mic and you like the sound of their music, then you’ve got a solid reason to choose the mic they’re using.
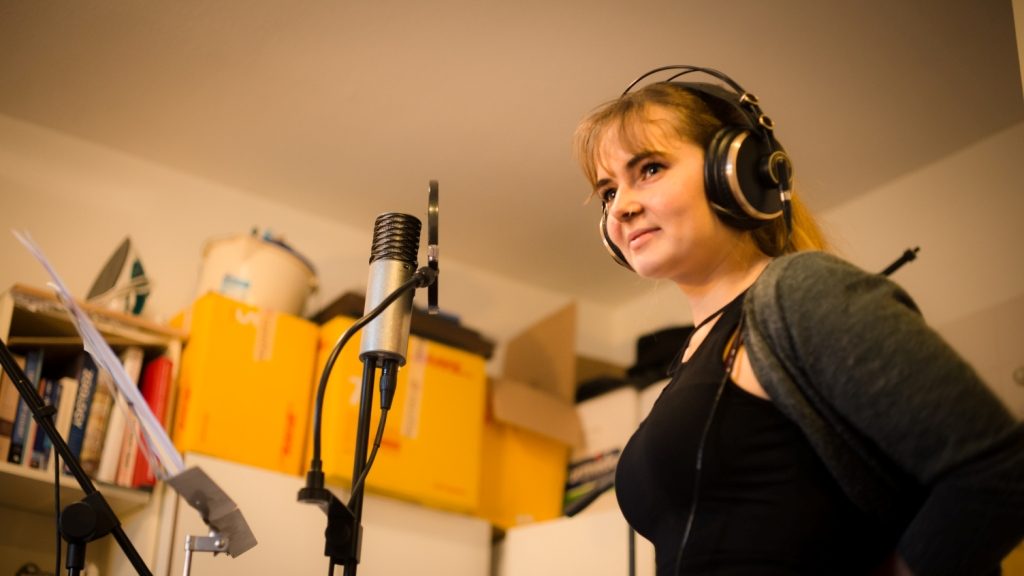
Understand your mic: I started recording with a single USB AT2020 and a tiny stand so I could put it on my desk and direct it at myself. I didn’t even spend €150,- in total at the time. There were other options for me, but some of the better (and more expensive) mics had to be hooked up to an interface or audio box. Make sure you have a good look at which equipment you need to get the microphone to actually function so you don’t get any unexpected financial surprises and headaches later on.
Microphone Placement
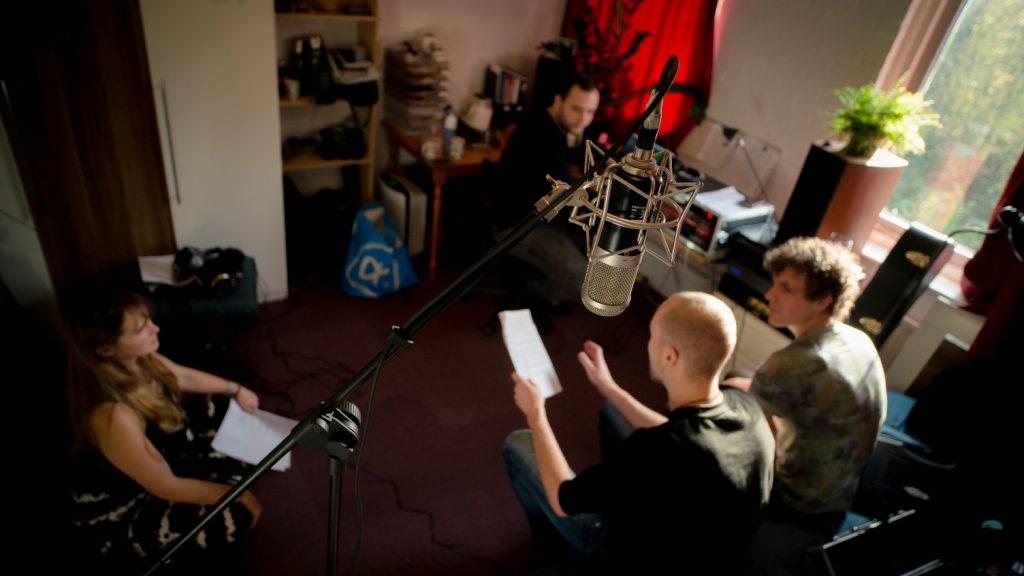
Once you’ve bought your mic, you’ll have to wait until it arrives in the mail. The perfect time to spend even more time watching YouTube guides and asking musicians for advice. You are going to want to know how to record whatever you wish to record with the mic you bought. It’s not a matter of putting it wherever in the room and start recording. These things are delicate and will require you to make conscious decisions: Are you recording solely guitar, guitar and vocals simultaneously, only vocals, violin, etc.? Each of these require different microphone placements. Even the way you play affects the optimal placement. There are lots of videos on how to record yourself with a single microphone. Don’t buy several mics if you don’t need to. Keep that money in your pocket and watch these free tutorials to get yourself started.
If you have more money to spend and you bought an interface along with headphones, you’ll be able to hear the sounds that your microphone picks up in real-time. You can then experiment with the placement of your mic as you play or sing and adjust it until you have the sound you’re looking for. If you’re not working with an interface and do not have a good audio-card in your computer, you can still experiment by placing it in position A, recording a bit, then placing it in B, recording a bit, and finally listen to the difference in order to make a well founded decision.
Don’t worry about the ‘sound’ of your room with this first mic. You can always upgrade your room with acoustic foam and whatnot when it’s time to take that step. There’s absolutely no need for that in the beginning.
Mixing Music
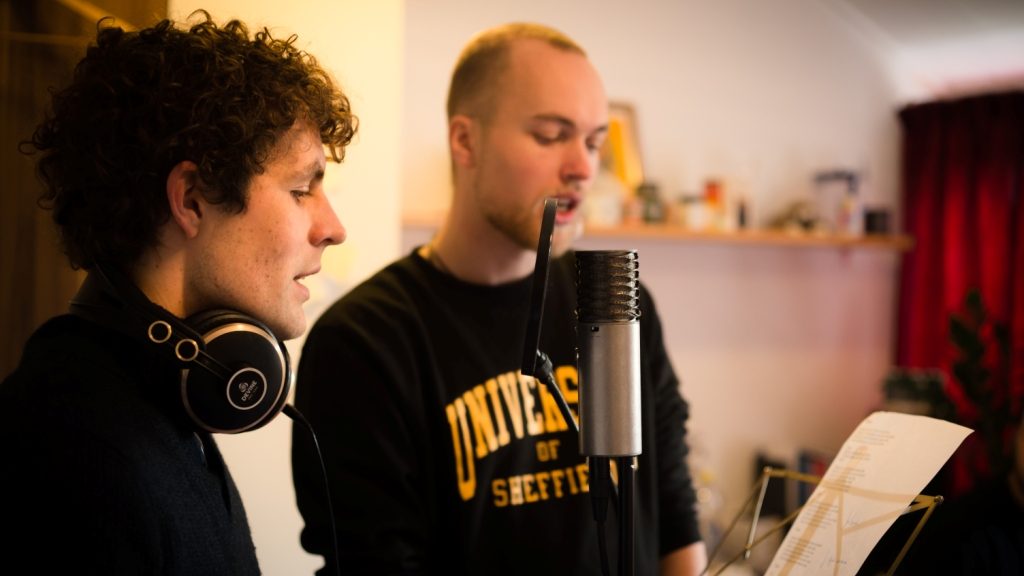
You have recorded your music! Awesome! There’s one more step you need to take in order to get the best out of your recordings. You’ll be happy to know you’ve already taken the first step in mixing when you placed your microphone in a certain way, because you’ve created a certain sound already and won’t have to use the mix to simulate that sound! What’s next?
The tracks you recorded need to be mixed. Essentially you’re enhancing the recordings and creating a specific sound. This has to do with many technical things I will not get into; how do the tracks relate to each other when it comes to high/low frequencies, volumes, reverb, compression, etc. YIKES! Now what?

Mix it yourself: Like with buying a mic, placing the mic, recording with the mic; do your research. There are tons of videos out there explaining how to make a decent basic mix for vocals + guitar or enhance your instrument/vocals. If you enjoy mixing your own sound, you can definitely do this from the moment you start releasing your tunes. Many other big musicians like Rachel Hardy started out that way and are still releasing like that after they’ve ‘made it’.
Get someone to mix it for you: If mixing your music is a chore and you’re not having fun with it at all, you can find someone to mix your music for you. There are several ways to go about this. For starters, you could find someone who has the same passion for mixing as you have for your music and ‘help’ each other in this sense. You could collaborate with an artist who has experience with mixing and will mix your separate tracks along with their own when you release your music together. You can also pay a one time fee to get someone to mix it for you, but since this is a starter guide I would not recommend that. You’ve always got to pay the people you collaborate with, but you can also do that with royalty splits. You can read more about paying your collaborators and producers in the next blogs of this guide.
Once you’re done with the mix, you might want to send it around to some close friends to get some final feedback, so you get the very best out of your recording and the hard work you’ve already put into it!
Releasing your Music
You’ve recorded and mixed your music. You’ve got a product that is ready to be shared. But how do we get it on those platforms? In the next blog of this series I’ll share the insights from my experience on how to best release and distribute your music when you’re just starting out. For now; have fun choosing your equipment for your first ‘home-studio’ and enjoy recording and mixing your music!
